Writing this essay from my couch next to my dog was a wonderful, if at times painful experience because writing is hard. I crafted the text below without an agentic tool and used my two favorite text editors and their built-in spell checking tools: Ulysses and iA Writer. My partner provided in-person feedback. All words are mine and all photos are mine except the selfie of me and Peter Friese. Credit for it goes to Peter – he’s way better at taking photo memories than me. The song lyrics in this post are from the song “Future Proof” by James Dempsey and the Breakpoints.
At this year’s Live near WWDC, my eyes are glued to the small stage that’s part of a bowling alley. James Dempsey and the Breakpoints perform to raise funds for a nonprofit. Even weeks later, one song with the title “Future proof” stuck with me particularly, but we’ll get to that song later. During another song, I’m rudely interrupted. “BENNY!!! JA DER HEIßE SCHEIß”. Nobody in the US calls me “Benny” except the few folks who’ve met me before 2019. And the reference to “der heiße Scheiß”, well…we’d need to go back 15 years for that. It’s a story for another time.

Anyway, back to the topic of this post. I hadn’t seen my friend Peter in person since 2014, and we barely interacted from the moment Twitter got ruined by the person who has the funds to end world hunger (or at least make a significant contribution) but chooses not to. Twitter was “my” social network. It was the place where I met mobile developer communities: First, I became part of the Android developer community, and then, starting in 2010, I joined the Apple developer community. Twitter was where I learned how to develop iOS apps better. Twitter is where I hung out with my friends.
Peter and I lived at opposite ends of Germany, so we mostly communicated and shared information on Twitter. In the physical world, we were both regular speakers at (mobile) developer conferences in Germany between 2010 and 2014 and met a few times a year during those events.
I’ve coordinated my first visits to Canada and the USA using the platform. It’s where I met my first friends in the US, learned about Seattle, and found information about the Xcoders meetup. Heck, I met my future boss and eventual GitHub-CEO Thomas through Twitter. I wouldn’t live in the US, have had the opportunity to work at Microsoft, or be where I’m at in my career if it wasn’t for Twitter.
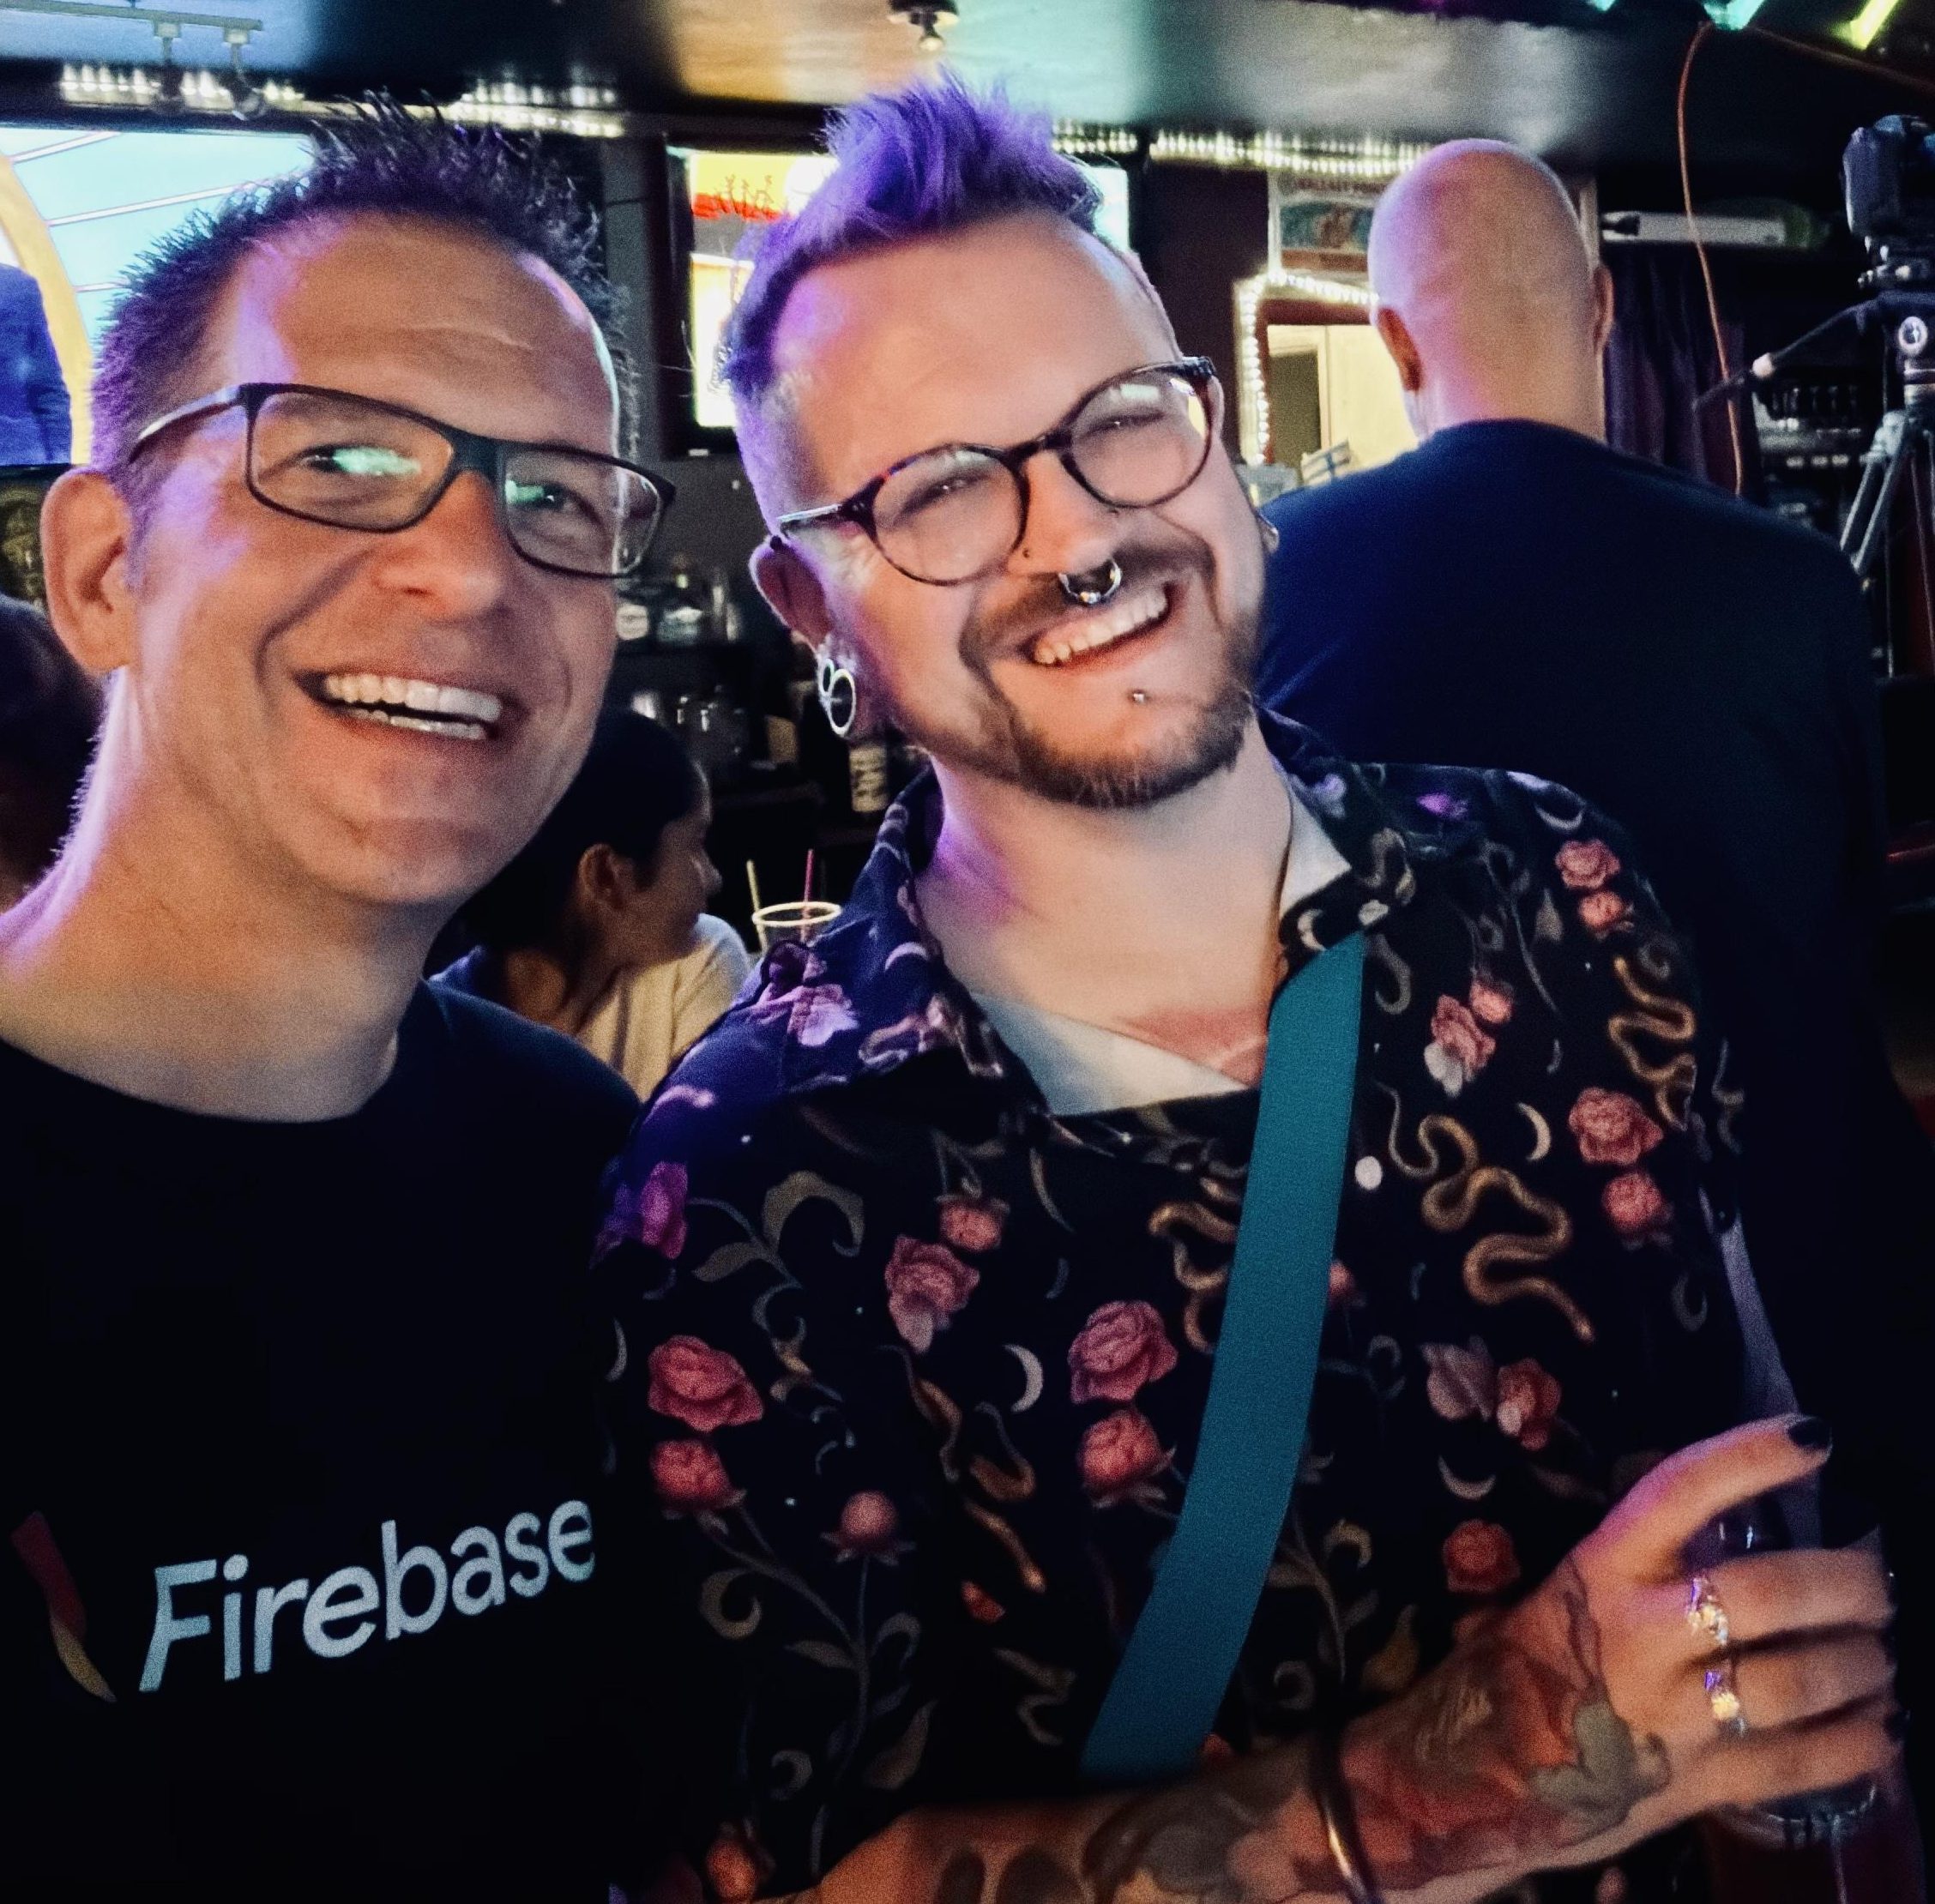
Twitter helped me get through the loneliness of the lockdown time from 2020 to 2022. And then, in 2023, when the man with the Hitler salute bought it, it all imploded. Twitter is no more, the community is gone. I finally deleted my account in 2025 after not logging in for months. I’m sharing this to explain why meeting Peter so unexpectedly in person made me quite emotional. We hugged, had drinks, and talked for a long time. The experience reinforced my gut feeling that the rupture of Twitter caused near irreparable damage to my professional community. Some connections survive on LinkedIn, Instagram, or Mastodon, but many friendships remain lost.
My mind may fly,
Watching the years go by,
Keeping up with all the changes since you first got started.
Even though some of your dreams are now long departed,
One day you’ll see the light from the other side of youth,
Ain’t nobody future proof.
– from “Future Proof” by James Dempsey and the Breakpoints
Somehow it’s already July 2026, and the year keeps rushing past me. I generally struggle with the speed of life, and people who are older than me keep saying that it will only increase in perceived speed. June was exemplary of that: Several pets needed medical care, my partner’s nascent small business got traction while operating out of our home, the world continued its descent into a state of unhinged chaos, we traveled to attend a celebration of life in beautiful Morro Bay, CA, and I lead an intense team effort to complete deliverables for this year’s Worldwide Developers Conference (WWDC26, or simply “DubDub”). Quite suddenly, I found myself traveling to Cupertino for a few days to meet friends from across the world who attended the conference or were in town to meet their community.1
Being busy almost literally 24/7 since March made it next to impossible to stop, catch my breath, and process my experiences. After my return from WWDC26, I felt like there’s something “there”, a thread or a theme that connects the last few months, maybe years, but I couldn’t quite see it yet. It was like something important was about to emerge, as if Atlantis was slowly rising from the depths of the ocean without anybody noticing juuuuust yet.
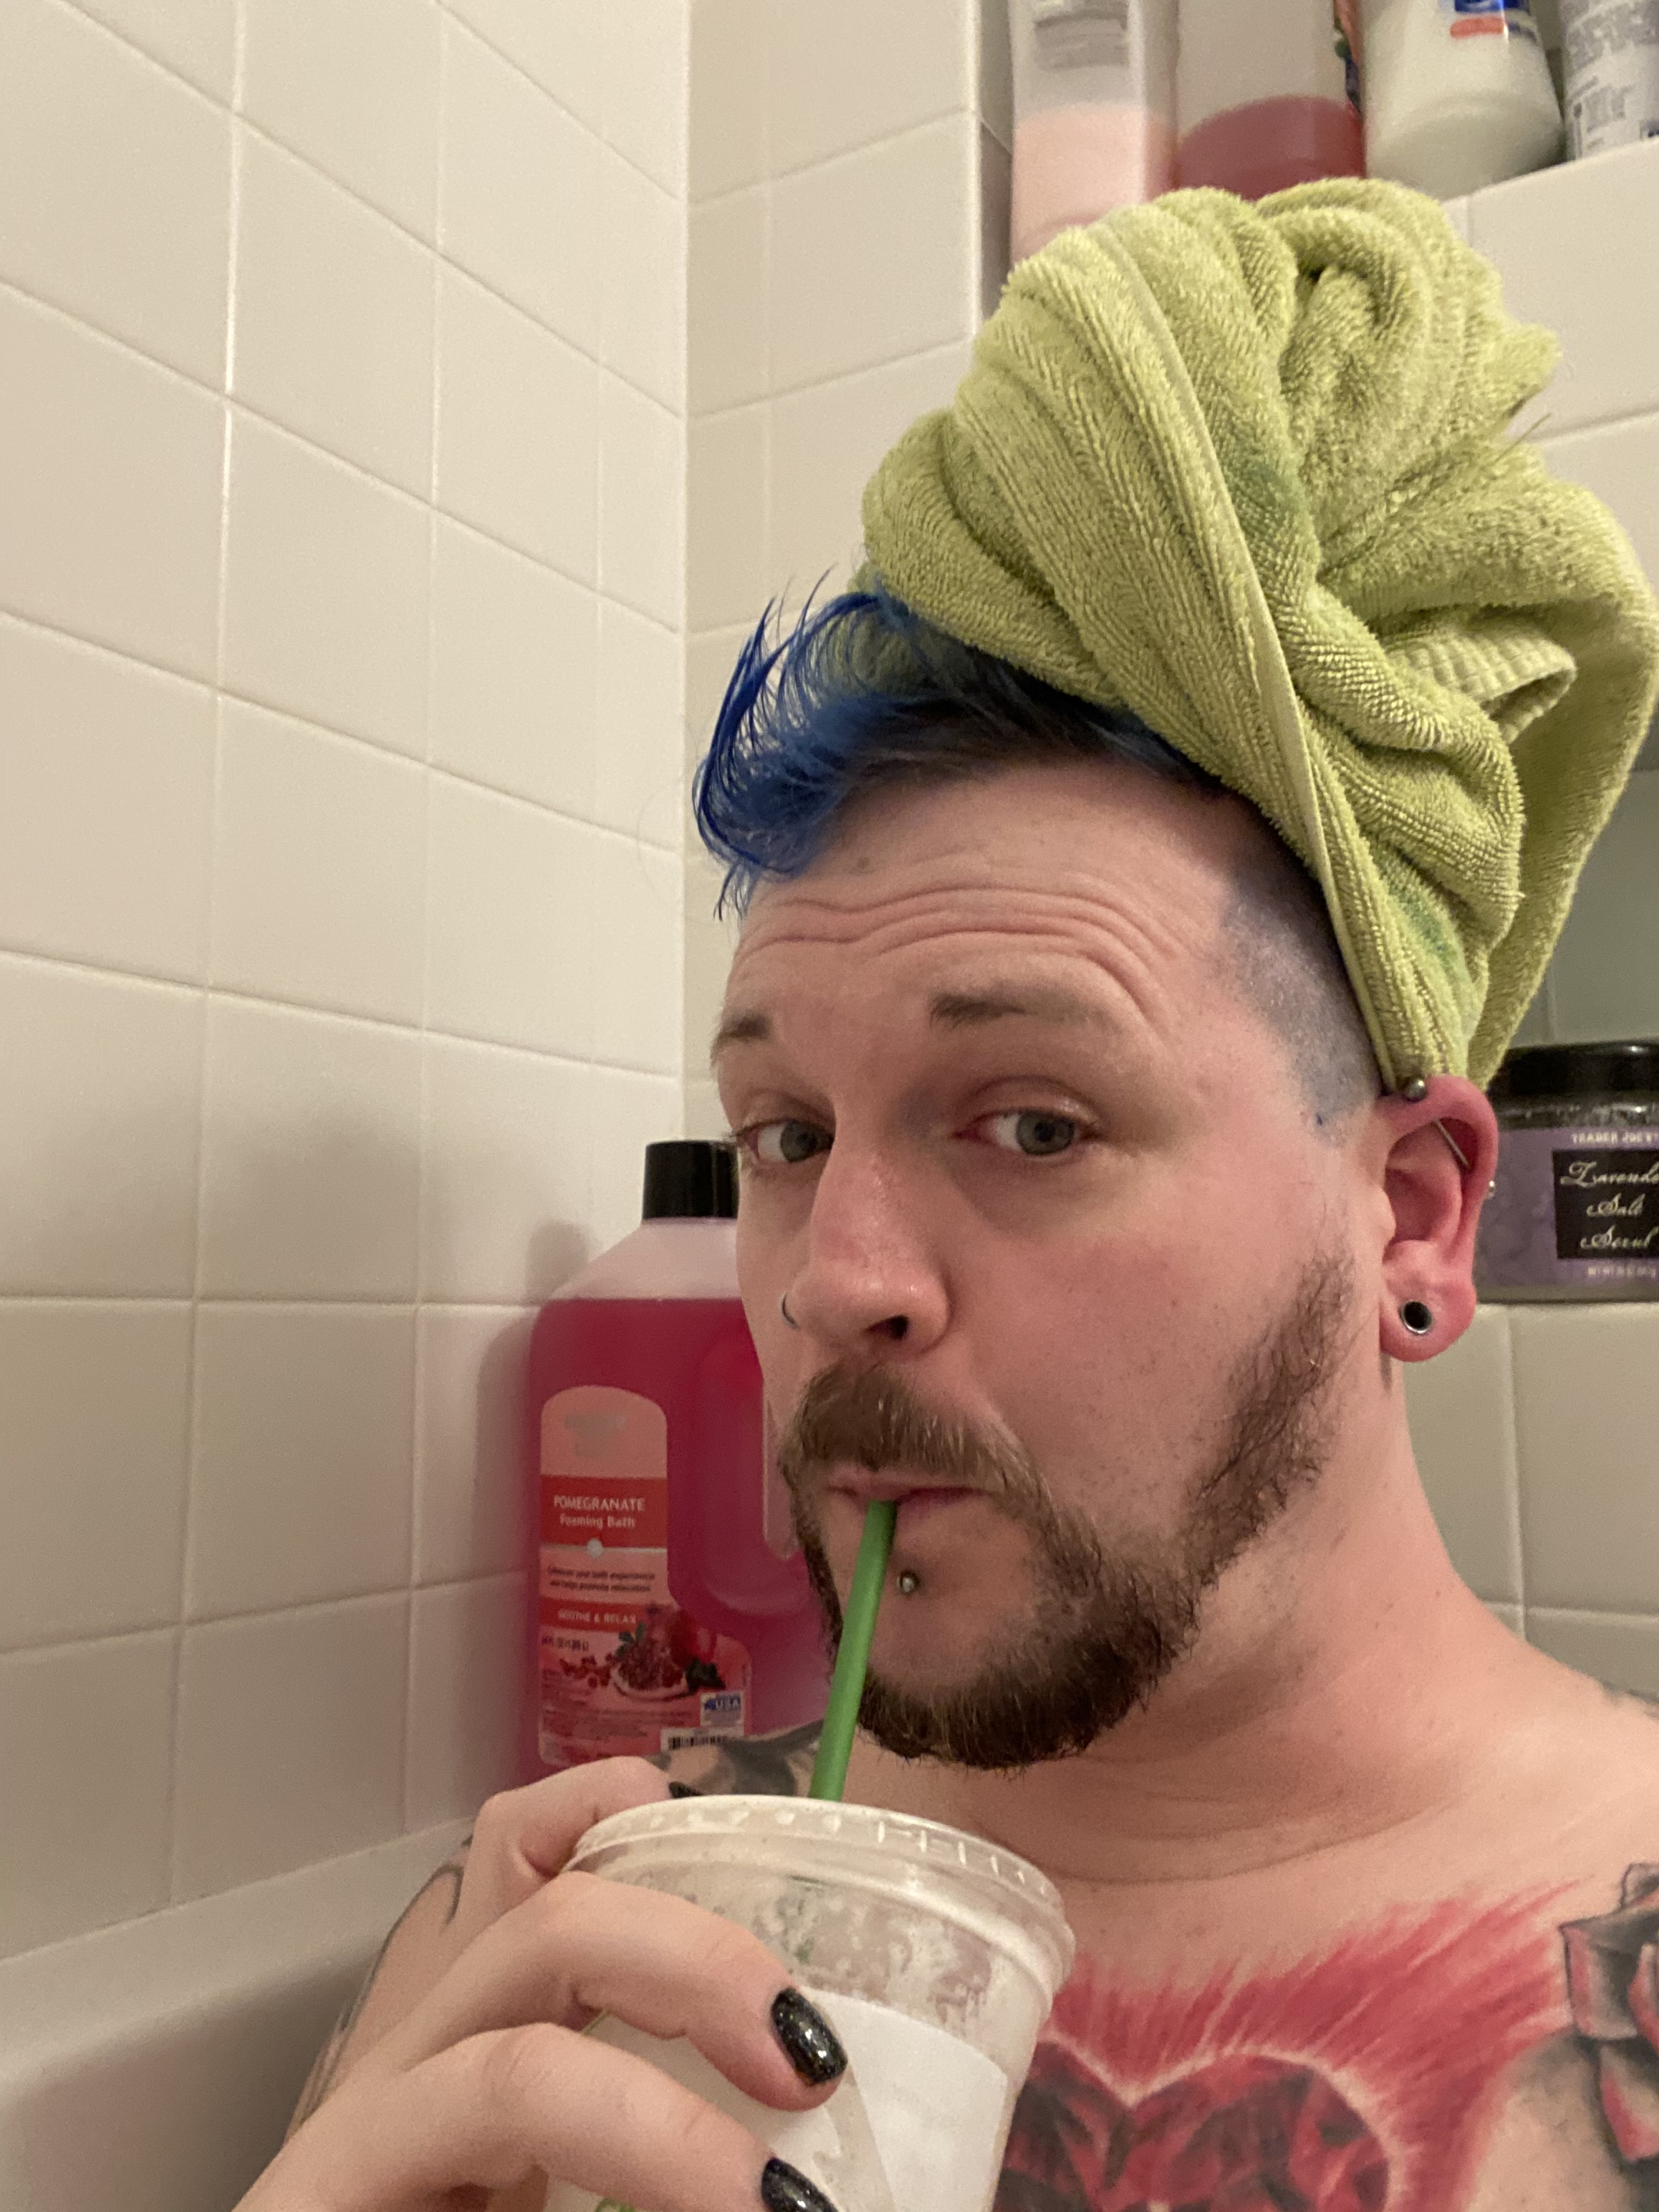
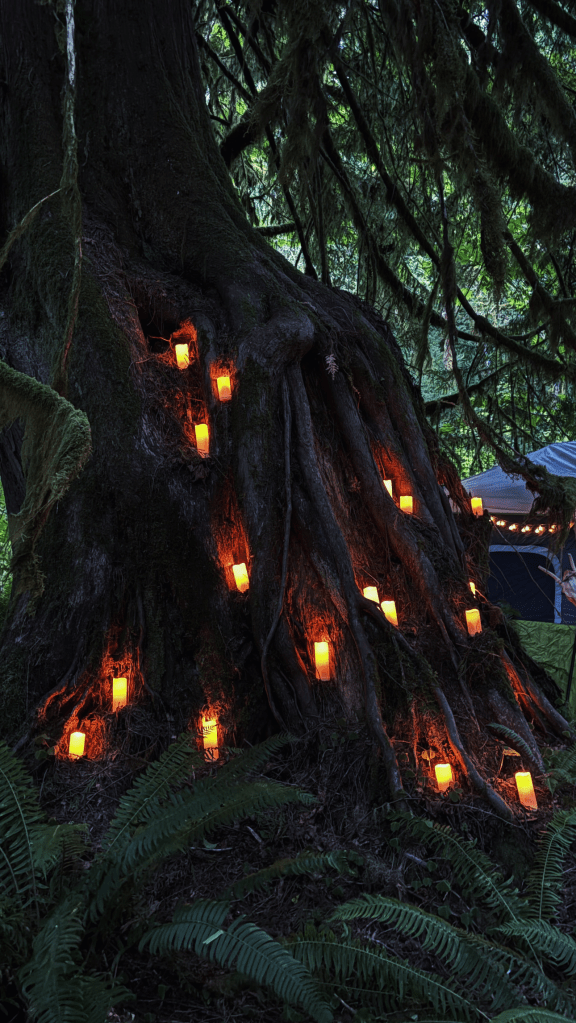
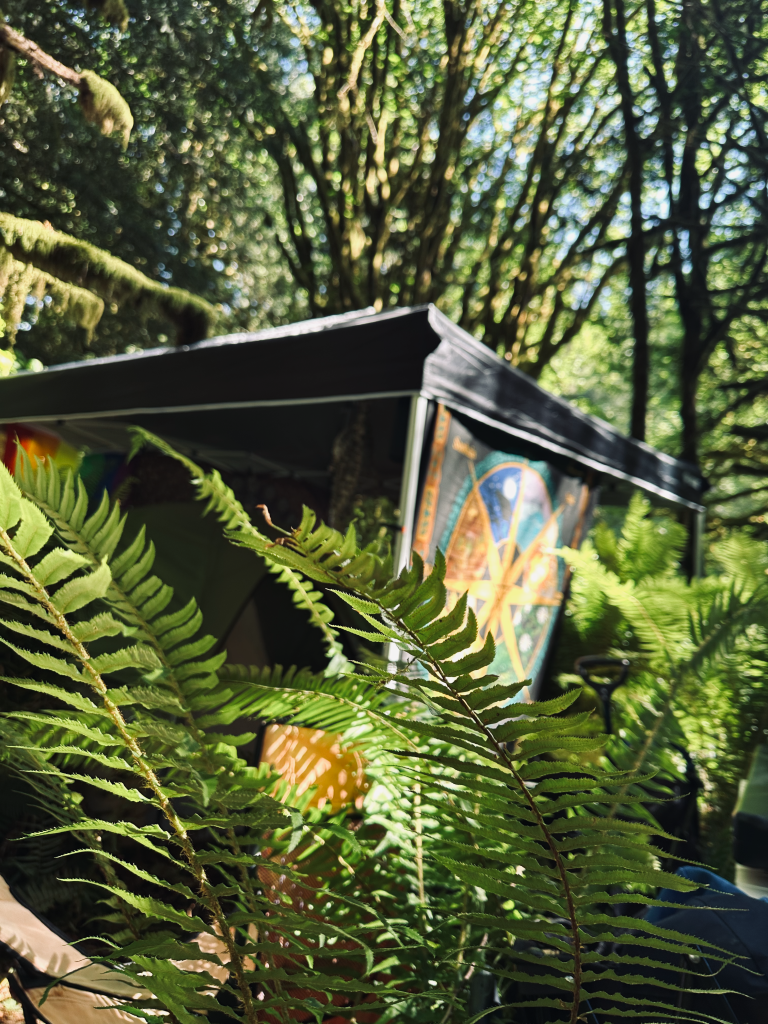
My breakthrough was attending an annual midsummer celebration and music festival in the temperate rainforest of the Pacific Northwest. It’s sort of a pilgrimage for my partner and me. It’s a music festival without electricity (they have a generator that powers the sound system), cell signal, running water, food vendors, and capitalist motives. You buy a ticket that covers the cost of providing a safe environment and paying the bands. You bring what you need for a weekend of camping and being at a music festival, and then some more to share. You camp in the woods or in a meadow by the creek. You listen to music from your tent, by the big campfire in the meadow, or in front of two small stages that are nestled in the rainforest. When you leave, you pack it all out. The land itself almost forces itself on you and makes you stop and pause. It’s a spiritual experience, if you choose to see it that way — and I’m saying this as an agnostic person.
Imagine driving to a place where the closest town is 20 miles away and consists of a pretty rundown main street with one major intersection. There’s a gas station, a pub, and a few dozen houses. 20 miles from that, you’re literally in the middle of nowhere. You park your car about three quarters of a mile from the festival itself. To get your camping gear for the weekend to the festival grounds, you need to carry it (don’t forget that handy handcart!) or use one of the provided shuttles. Our shuttle was a black Porsche Macan. It made my heart sing for a bit — I grew up in a suburb of Stuttgart which is home to Porsche HQ, and I sometimes can’t help but feel that gasoline in my upbringing. Anyway, why was the shuttle using a luxury SUV? One of the old trucks that the event was using as a shuttle had broken down, and one of the attendees simply volunteered to shuttle people back and forth in their (gasp) Porsche Macan all afternoon. We met the owner again later. They happened to camp two tents over and let us know immediately that they’d brought a 5-gallon self-cooling keg of ale that was…well…for everybody — and it was from one of my favorite local craft beer breweries.
While not everyone gave rides in a Porsche Macan or offered craft beer, those two data points give you an idea of the overall spirit of the gathering. A community comes together to catch up and have a good time — and for some people it’s more than that. I find it one of the most grounding experiences, and it feels like home. People support each other, often proactively, in whatever way they can. When we were breaking down our tent at the end of the weekend, somebody who I’ve never met before stopped by to offer fresh-brewed coffee. They even brought compostable cups. Again: I’d never met the person before. In some ways, it was like a WWDC…but..different because it was a different community.
Someday, I might write a bit more about this gathering and how it relates to our world and/or our use of technology. For now, let me focus on what emerged over the weekend. I was finally able to put my finger on the hidden thread, the pattern that had been there but wasn’t visible yet, the perspective that’s been waiting to surface.
There are threads upon threads, tiny events during the days in Cupertino and at the midsommer event that connect to a larger theme. Something that my gut tells me will be more and more important in our shared future where we use agentic tools to work and communicate. The end of the privileged stability of the world order I got to experience in the 1990s, 2000s, and 2010s seems more and more like a thing of the past and reinforces my feeling.
“…and then one day, you know, you’ll stumble upon the truth,
ain’t nothing future proof.”
– from “Future Proof” by James Dempsey and the Breakpoints
Agentic tools, machine learning, and LLMs are “the future” and justifications for layoffs, excess use of natural resources, invasion of copyright and privacy on an unprecedented scale, … I could go on. I’m not happy with this development. At the same time, I intellectually and intuitively know that agentic tools — “AI” — are here to stay. They have their use. They’ve been changing the world for the last couple of years. AI is software, and software is eating itself and then the world…or something like that.
At the same time, I also know with every fiber of my body, literally in my bones, that humanity — being human, “the human experience”, call it what you will — is more important than ever. It might be a hot take, and I’m for sure biased because of my experiences. I’m acknowledging that. But every fiber in my body tells me: the human experience is more important than ever. Pause. Read that again. After the two recent intense experiences (WWDC26 and the midsummer celebration), the fabric of my body is SCREAMING it in my face.
We humans are apes that came down from the trees, and we have needs that are inherent to that experience.
– My friend Kristin — first my wicked smart friend, and now my barber — while she cuts my hair and we talk about her perspective on “AI”.
During my visit to Cupertino for WWDC26 week, I’ve witnessed a new generation of software developers who discover the Apple developer community for the first time. More broadly, they experience what it means to connect with fellow professionals in person, off-the-record, and in an environment that’s safe to everybody no matter their nationality, gender, sexual orientation, or age. It’s a familiar, welcoming feeling. Many folks under 25 haven’t had a chance to connect to their peers like I have when I was their age.
College: Mostly remote.
First steps in their career: Remote, or if it was in-person at work, there was no intact developer community to join.
At a developer social hour, I not only met my friend Manuela (who I also haven’t met in person since 2019), a coworker who I’e worked with during my very first project at Apple, and a few other familiar faces. I also met new people. Many of them were young professionals in their early or mid-20s. At one point or the other, each conversation touched on their social experiences during WWDC26 week. People described them as “unique”, “like a family”, and “everybody’s curious and supportive of each other”.
“I might have met you long ago,
might have met you lately,
I just wanted to let you know,
I appreciate you greatly.”
– from “Future Proof” by James Dempsey and the Breakpoints
On another occasion, I met friends for drinks and dinner. Many of them were among the first people I met in Seattle over a decade ago. I’m not sure I would still be based in the US or even work at Apple if it wasn’t for them. It’s not because they gave me a fast track to work at “the mothership”, it’s because they helped me find my community. Attending Xcoders and meeting the Apple developer community in Seattle reinforced the spirit of mutual curiosity and support I had experienced and helped build while I was living in Germany.2
Another evening during WWDC26 week, I sat with friends old and new in a fancy hotel lobby. I met my friend Laura, who I first met in Montreal back in 2013 during a conference trip that I coordinated via Twitter. It was my first intercontinental flight, my first time outside Europe, my first time at a North-American developer conference. I was TERRIFIED of being in the same room with all the “VIPs” of the time: folks like Marco Arment, David “Widgetsmith” Smith, Yuri, … I was completely overwhelmed. Years later, I learned that my director at Apple was at the conference, too. The world can be a village after all. One of the key memories from that conference was with one of those “VIPs”. He invited me to join him and his friends for curry, and I remember somebody saying “don’t be afraid, we’re a big family here”. It’s 100% true and I can’t help but think about how this community has always felt like home to me. Coming back full circle, he later contracted for my department at Apple when I joined the company.
Yet another moment during WWDC26 week, I signed up for yet another developer happy hour because I knew that I’d be able to meet a former coworker. We’ve collaborated on a big project during the lockdown times but we’ve never met in person. Not only was I able to thank her and give her a hug — years after our collaboration —, I was able to meet other community members and coworkers for the first time. One of them shared that WWDC26 attendees who attended a special developer community event at the Developer Center across Apple Park remained outside in the parking lot long after the event was over. Attendees were chatting the night away, making connections, and forming friendships. This description invoked memories of warm fall evenings in Montreal with dinner conversations over curry, of sitting on the patio at Rob Roy in Seattle with fellow Xcoders while seagulls scream overhead, of me heating up Swabian dumplings in a small office space in Stuttgart after a presentation about some cool new API somebody discovered, and many more.
I find my observations comforting, and they provide the perfect segue back to “Future Proof” by James Dempsey and the Breakpoints:
Technologies will come and go like passing seasons, Get too attached, you’ll feel it when they fall.
But keep in mind that people are the fundamental reason why we’re even writing code at all.
I might have met you long ago,
Might have met you lately,
I just wanted to let you know,
I appreciate you greatly,Friendships made along the way never grow long in the tooth,
Ain’t nothing more future proof.
– from “Future Proof” by James Dempsey and the Breakpoints
I encourage you to listen to the song in person when you get a chance. ’til then, check out the recording from Deep Dish Swift 2025. The song’s lyrics hit right home.
Sometimes, I feel like we truly are apes who came down from the trees, and we’re apes who have discovered fire (AI) too soon before we fully understood it. It’s as if we went from touching ground with our feet for the first time to being handed a toaster oven or fire bombs.
I’m middle-aged, which I rarely feel, but when I talk to people who are just getting started in tech, I feel it more. It’s not a bad thing at all. It feels as much as a responsibility as purpose. My gut tells me that people need to know, need to remember, that they don’t have to face and learn to use fire all by themselves. It’s not just young folks, it’s everybody: myself, people my generation, and those who came before us and who’ve seen change for longer. Even social folk like me need to re-learn what meeting in-person is like — 4 years after the lockdown times.
It’s SO easy to get caught up in the whirlwind of change and feel the anxiety that comes with it. We don’t have to face it alone. We’ve got each other. And while that’s terrifying when you think about some of the apes who use fire irresponsibly, it’s also comforting. Personally, I prefer to focus on being future proof by participating in and building community. I’ve been privileged in my experiences, and I’m biased. And, I’m fundamentally a humanist, and I refuse to cede the ground to those who leave behind scorched earth. We can be alright, if we want it. Let’s do it, one step at a time. Remembering that we’re writing code because of humans and that community can help prepare for an uncertain future might be a good first step .
- While I played a small part in the lead up to WWDC26, I wasn’t involved with DubDub during conference week itself. I stayed away from Apple Park and didn’t attend the conference or help with it. Well, OK, the day before I left, I stopped by the Visitors’ Center across from Apple Park to buy 50-year anniversary t-shirts. ↩︎
- It took me a while to understand that “building communities and safe spaces” is just something I do. I’ve lead an Android developer community that hosted events with up to 500 attendees, founded another monthly meetup in Germany where we’d get together for a tech talk and eating Swabian soup dumplings, an internal mobile developer meetup at Microsoft, and then another meetup in Seattle. At Apple, I’m part of the leadership team of Pride@Apple Seattle, the company’s LGBTQ+ employee association, and lead a bi-weekly virtual meeting for the content engineers in Developer Publications. ↩︎